The RVers Corner
← Back to Previous Page

Renewing Metal RV Roof Coating

Scraping & Surface Preparation

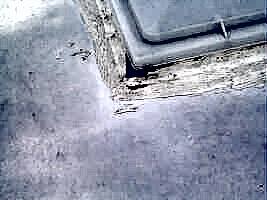
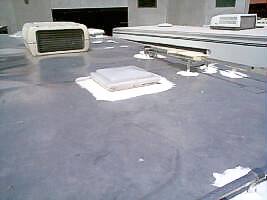
Neglected RV roof vent coating before repair

This photo shows a severely neglected metal roof. The old roof coating is cracked and has lifted away from the aluminum surface due to heat expansion and moisture trapping. This condition leads directly to ceiling leaks inside the cabin.

All old, loose coating must be thoroughly scraped away using a stiff putty knife or gasket scraper. An electric heat gun can be used to soften brittle sealant for easier removal.
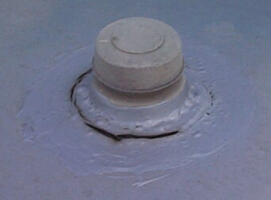
Neglected plumbing vent stack before repair

Plumbing vent stacks are another frequent leak source when sealant ages and separates from the base flange.

Re-Sealing & Finished Results

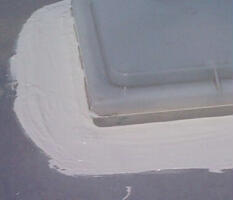
Repaired and re-sealed RV roof vent

Roof Vent Repaired: Once the metal base was scraped clean and prepped with solvent, fresh fiber-reinforced elastomeric roof coating was applied thoroughly around all flanges and fastener heads.

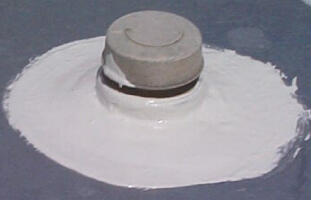
Repaired and re-sealed plumbing vent

Plumbing Vent Repaired: Fresh roof coating creates a watertight, flexible barrier around the plumbing stack pipe opening.

Finished recoated metal RV roof

The Finished Roof: Depending on the size of the rig and initial state of neglect, this complete scrape-and-seal job takes between 1 and 8 hours. Roof coatings should be inspected at least once a year and touched up immediately whenever cracks appear.